BOOK 07/25Bills & payments
PromptPay
Configure the shop's QR payment channel (PromptPay, or a bank QR like Mae Manee / KPlus) with automatic slip verification, plus a screen for manually matching incoming payments to a bill when automatic matching fails.
Configure PromptPay
Pick the QR mode the shop uses
In shop settings, choose one of 3 QR modes: PromptPay (phone number / citizen ID), SCB Mae Manee, or KPlus Shop — the system automatically routes slip verification to match whichever mode you pick.
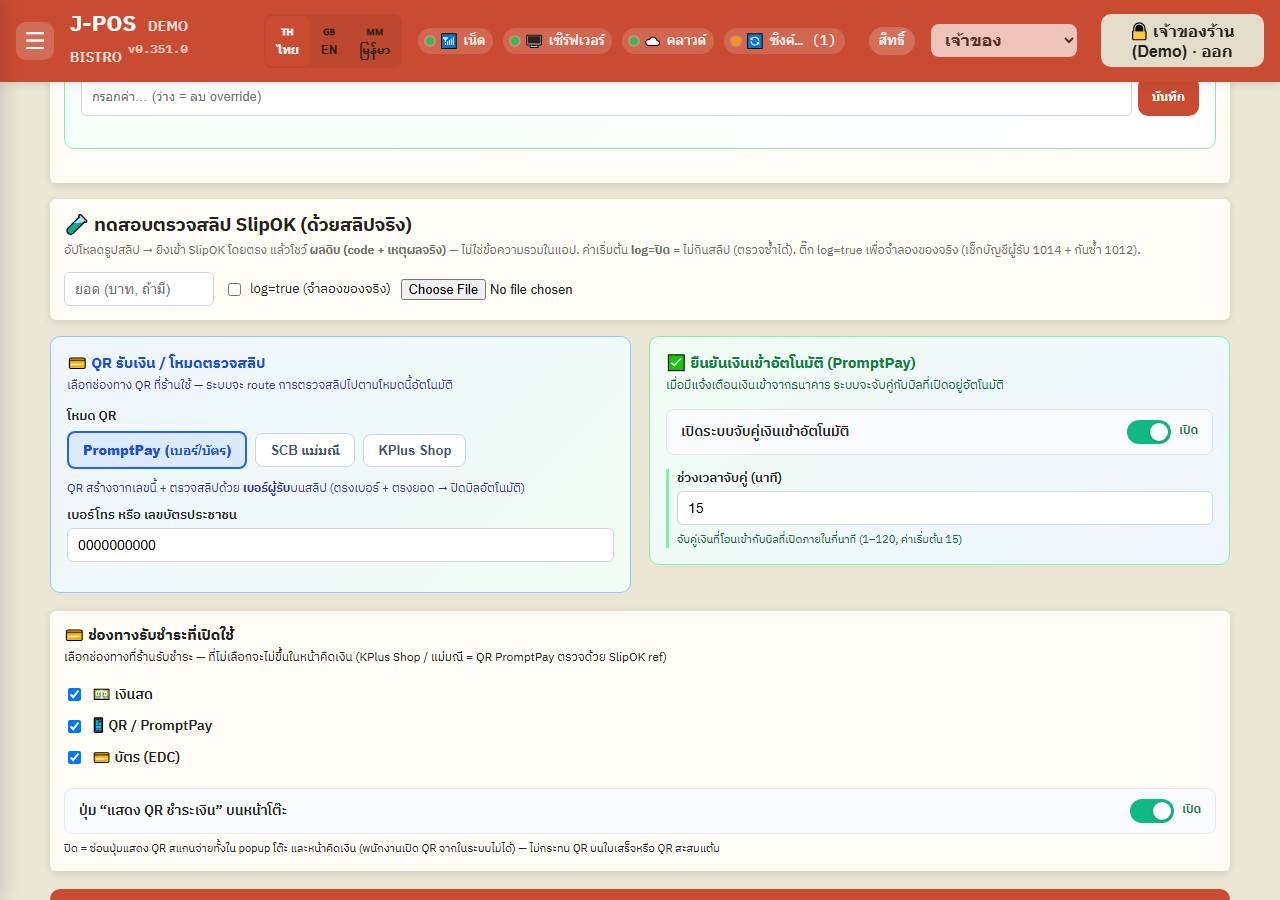
Open full size PromptPay mode — enter the phone/ID number
If you pick this mode, enter the phone number or citizen ID linked to PromptPay. The system generates an amount-specific QR from that number for every bill, and verifies a slip by matching the recipient's phone number on it against the number you entered — if the recipient and amount both match, the bill is marked as paid and ready for staff to close (only Counter Mode closes it automatically).
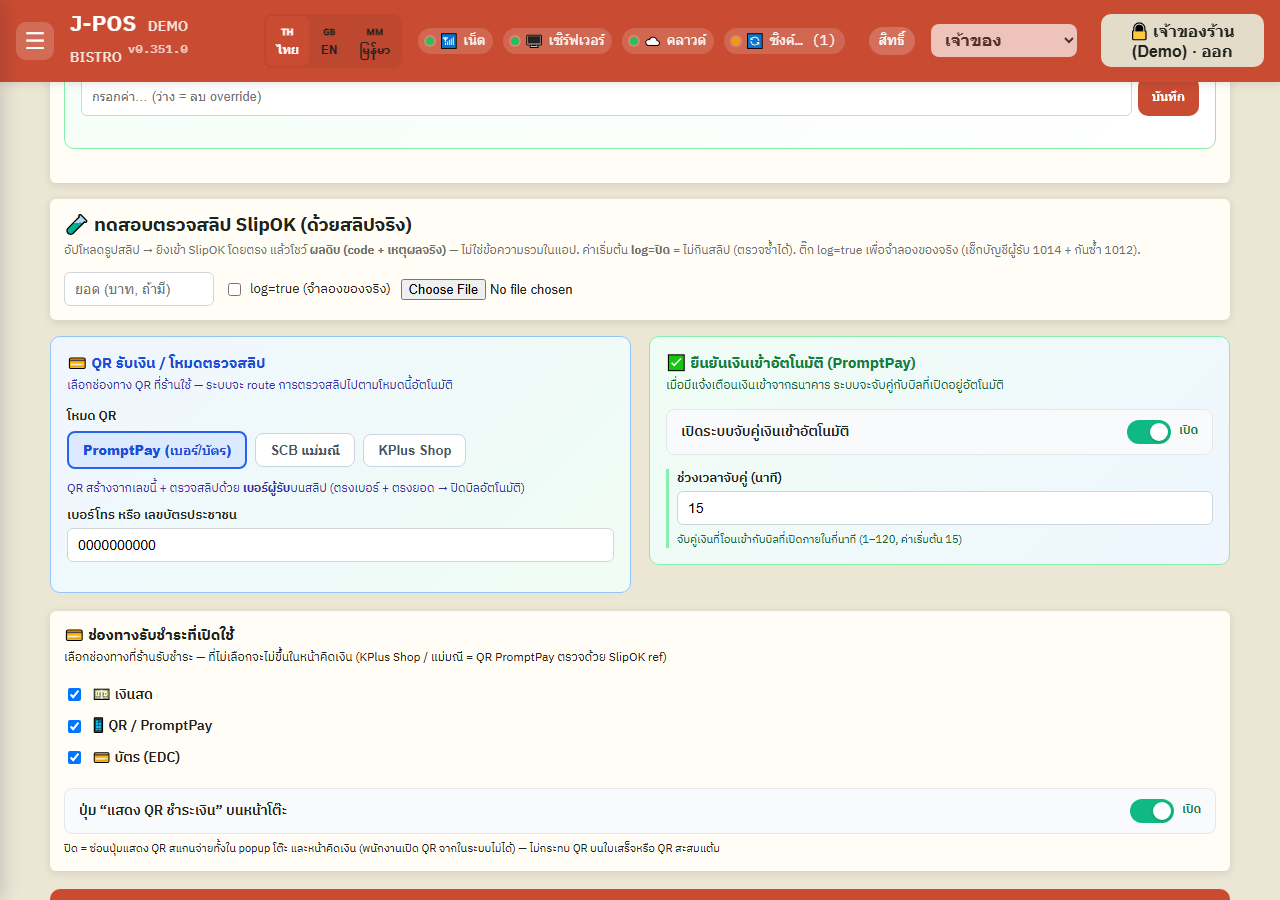
Open full size Mae Manee / KPlus mode — upload the shop's QR and set ref1
Mae Manee/KPlus recipient accounts are shared across many shops, so verification instead uses a “ref1 / merchant id” — set that ref1 in the “Secret settings” card (you can read the correct value off the “Test SlipOK verification” button).
Upload a photo of the shop's QR (from the standee). The system tries to decode the payload from the image itself to auto-generate an amount-specific QR; if that fails, it falls back to the static QR image.
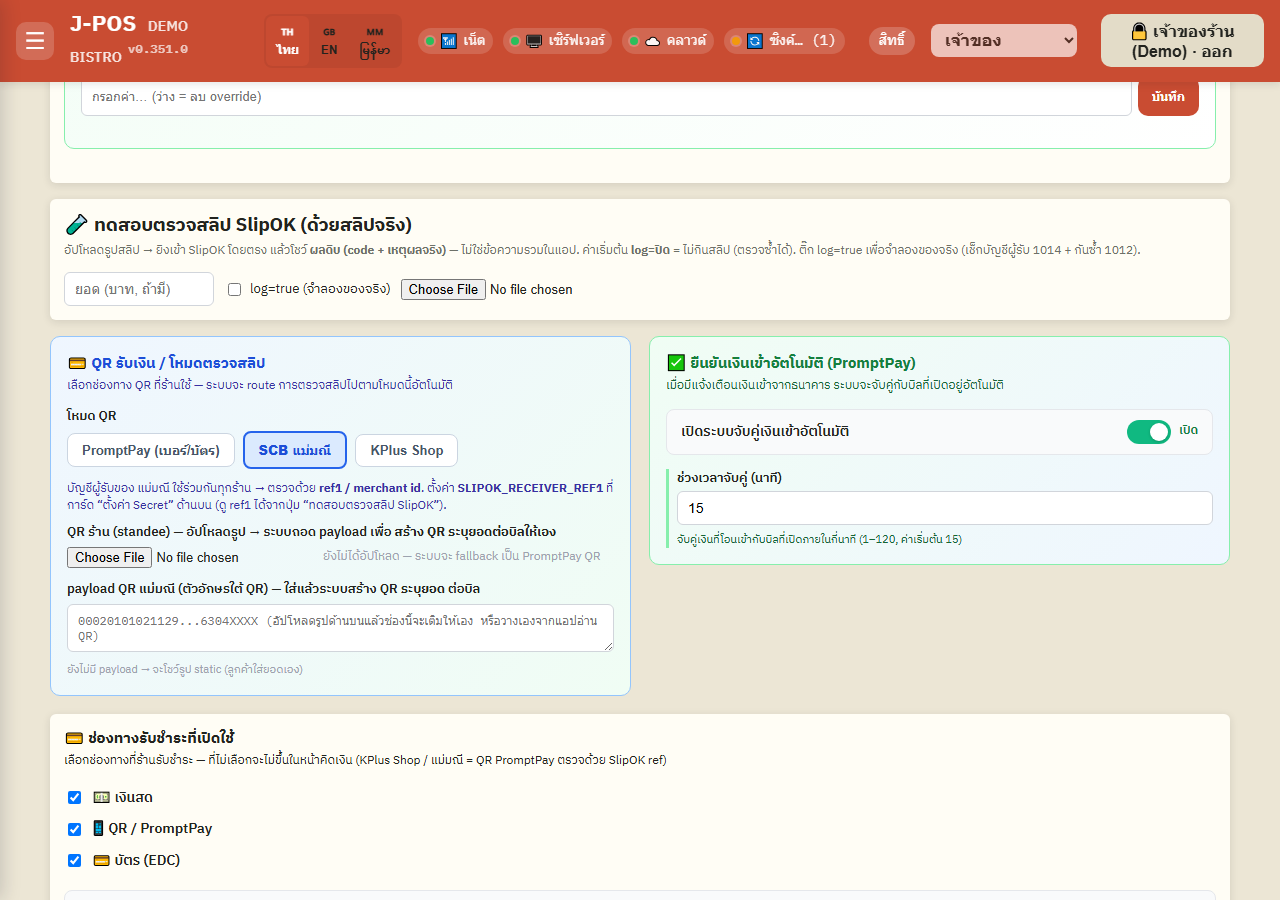
Open full size Accept payment on the bill screen
When a customer pays by QR/PromptPay on the billing screen, the system shows a QR to scan. With automatic slip verification enabled, once the amount and recipient match the bill is marked as paid and staff with permission tap to close it (only Counter Mode closes it automatically); otherwise (or if auto-verification is off) staff must confirm payment manually with an authorized PIN.
The same PIN is needed when you record a QR/PromptPay amount in the bill screen's “Partial / multi-method payment” section while the bill has no proof of the transfer yet.
Open full size
Reconcile incoming payments (Payment Alerts)
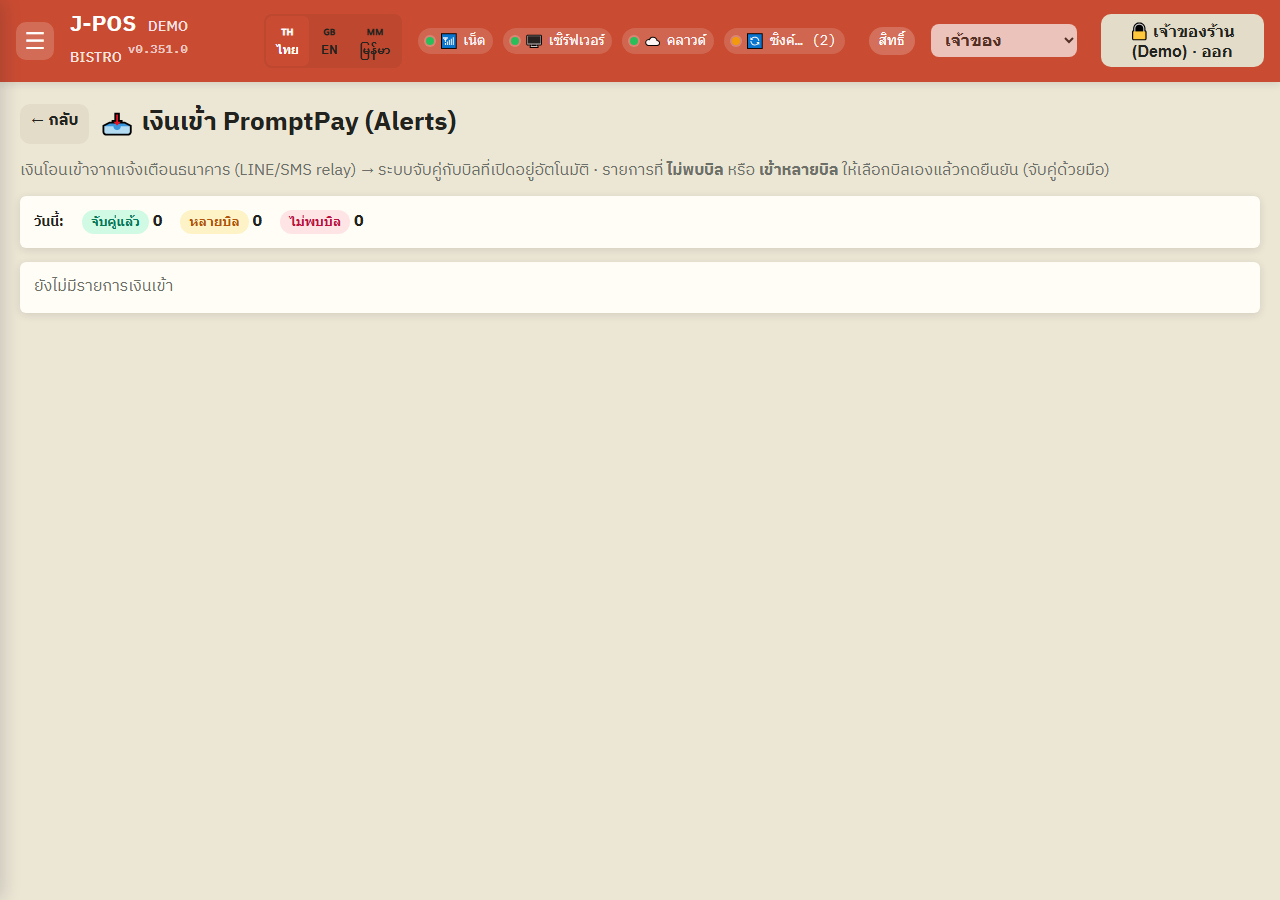
Open the PromptPay payment-alerts screen
The “PromptPay Money In (Alerts)” page lists every bank transfer-in notification newest first, each with a match-status badge: matched, multiple bills, no bill found, already used, or couldn't parse.
The page auto-refreshes roughly every 15 seconds and shows a per-status count for today so you can see the overview at a glance.
Open full size Manually match a payment to a bill
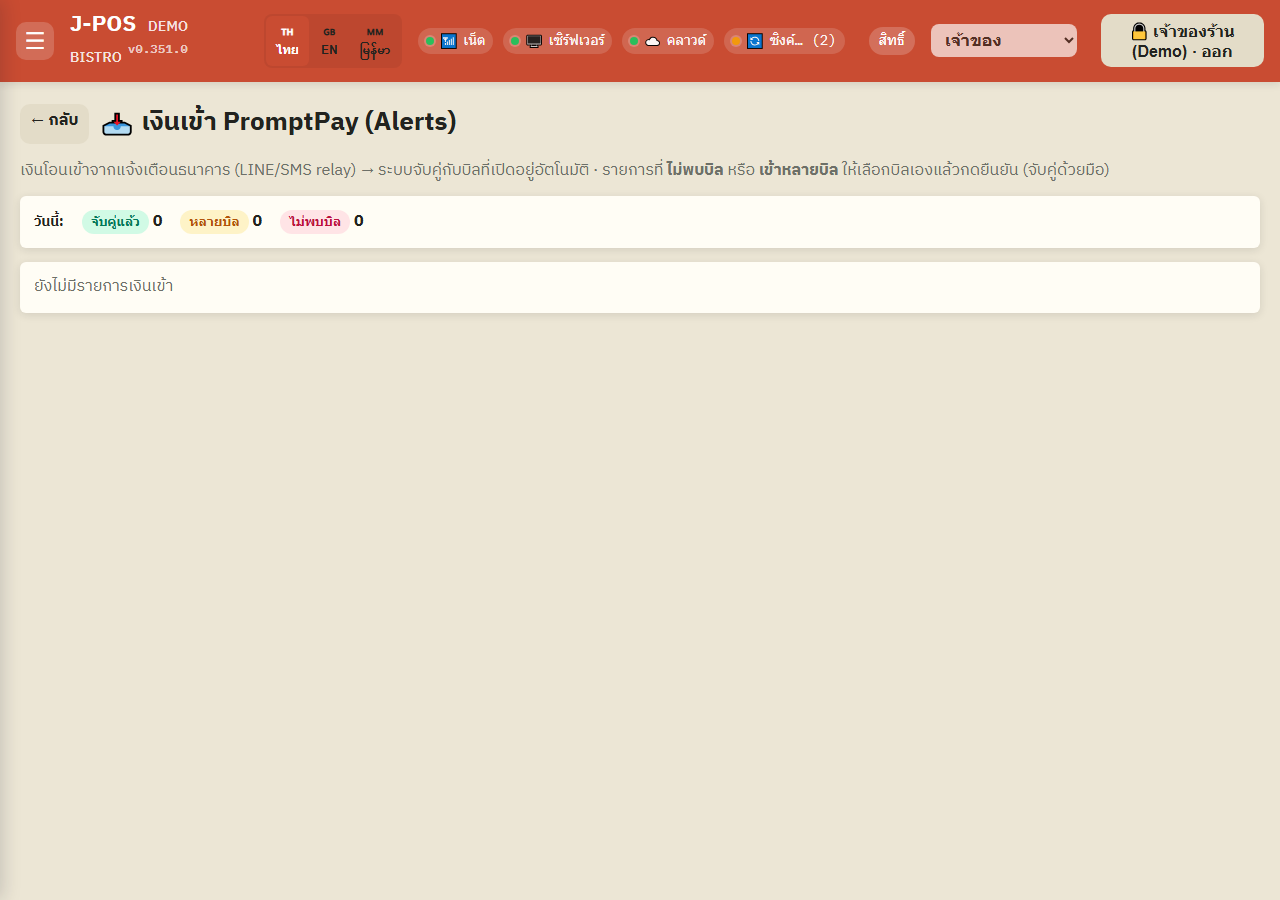
For an alert marked “multiple bills” or “no bill found”, pick the open bill it belongs to from a dropdown — the system shows the bill number, table name, and amount to compare before you choose.
If no bill matches at all but you're sure the money actually arrived, use the manual-confirm option with an authorized PIN, the same as closing a bill with no automatic proof on the billing screen.
Open full size
Common points of confusion
Mae Manee / KPlus verify by ref1, not by phone number
Unlike plain PromptPay mode (which matches on the recipient's phone number), Mae Manee/KPlus share one central account across many shops, so they rely on ref1/merchant id to tell which shop a payment belongs to. If ref1 is wrong or unset, automatic matching never works at all, and every alert needs manual matching.
"Couldn't parse" doesn't mean the money never arrived
This status means the system received the bank's notification text but failed to extract an amount from it (the message format changed or was unexpected) — the money may well have arrived; check manually and match the bill yourself if needed.
The Payment Alerts screen requires the settings-manage permission
Only staff with the settings.manage permission can open this page — being able to accept payment on the billing screen doesn't automatically grant access to this reconciliation view.